

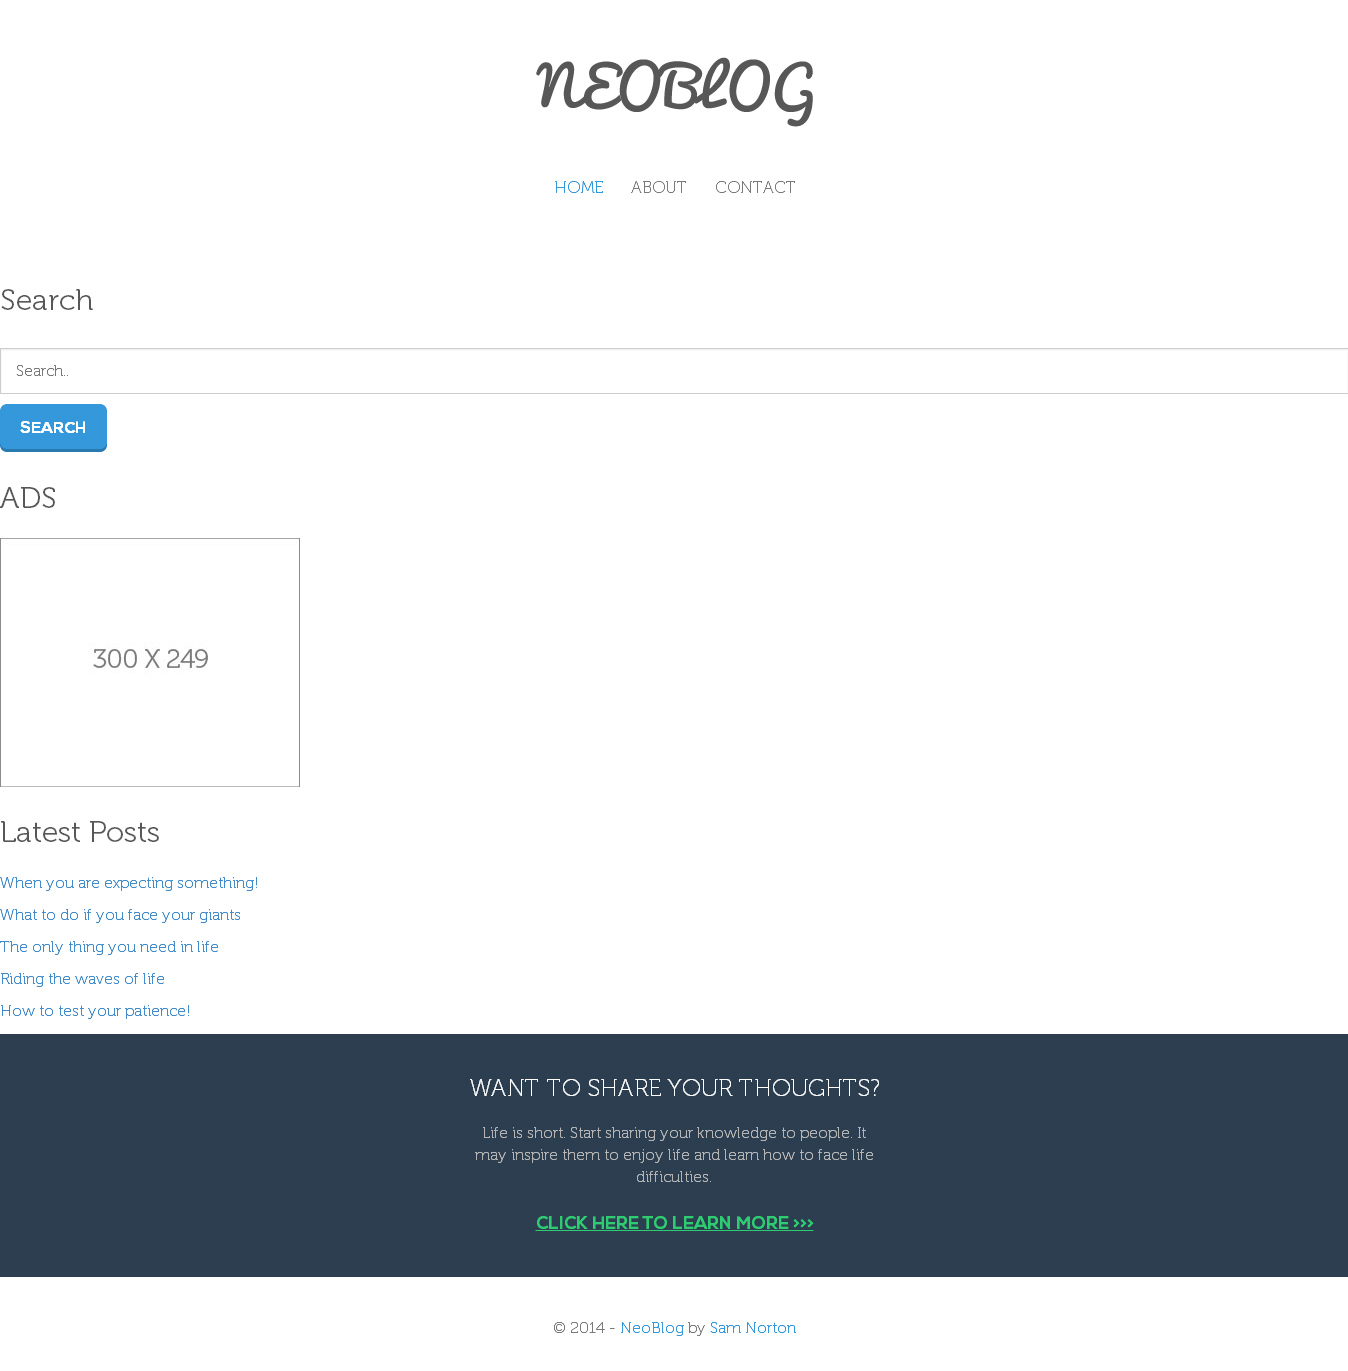
بدأنا في الدرس السابق بتخصيص الموقع عبر تعريف الثوابت وإنشاء ملفات header.php و footer.php والعمل على ملفات searchform.php و sidebar.php.
الخطوة 2.6- كتابة ملفِّ index
بعد إضافة كلِّ تلك الملفّات للقالب، حان الوقت للعمل على الصفحة الرئيسية للموقع، طبعا نحن نتحدّث عن ملفّ index.php. قم بإنشائه داخل مجلّد قالبنا ثم أضف إليه الكود التّالي:
<?php get_header(); ?>

<?php get_sidebar(); ?>
<?php get_footer(); ?>
دعنا الآن نلقي نظرةً على رئيسيّة الموقِع لنرى التغييرات التي طرأت عليها.
لاحظ أنّه ما عدا القائمة الجانبيّة، فإنّ كلًّا من رأس وتذييل القالب في مكانها المحدّد. لإضافة بعض المحتوى إلى رئيسيّة الموقع افتح ملفّ index.html وقم بنسخ المنطقة المحدّدة بين “blog area section” إلى غاية وسم غلق div ذو الكلاس box-layer align-center page-nav ثمّ ألصِق كلّ ذلك في ملفِّ index.php مباشرةً تحت دالّة get_header ستحصل على شيء مشابه لهذا:
<!-- BLOG AREA -->
<section>
<hr class=&"no-margin&" />
<div class=&"blog-container section-content&">
<div class=&"container&">
<div class=&"row&">
<div class=&"col-md-8&">
<ul class=&"negative-margin&">
<li>
<h1><a href=&"single-blog.html&" class=&"gray&">Should I use a Pencil or a Ballpen?</a></h1>
By <a href=&"#&">Sam Norton</a> / On July 20, 2014 / <a href=&"#&">Life Hacks</a>
<figure>
<img class=&"opacity-hover box-layer img-responsive&" src=&"images/thumb1.jpg&" alt=&"Pencil or Ballpen&" />
</figure>
Lorem ipsum dolor sit amet, consectetur adipisicing elit, sed do eiusmod tempor incididunt ut labore et dolore magna aliqua. Ut enim ad minim veniam, quis nostrud exercitation ullamco laboris nisi ut aliquip ex ea commodo consequat. Duis aute irure dolor in reprehenderit in voluptate velit esse cillum dolore eu fugiat nulla pariatur. Excepteur sint occaecat cupidatat non proident, sunt in culpa qui officia deserunt mollit anim id est laborum..
<div class=&"btn-margin&">
<a href=&"single-blog.html&" class=&"btn btn-primary&">CONTINUE READING >>> </a>
</div>
</li>
<li>
<h1><a href=&"single-blog.html&" class=&"gray&">How to test your patience!</a></h1>
By <a href=&"#&">Sam Norton</a> / On July 20, 2014 / <a href=&"#&">Life Tips</a>
<figure>
<img class=&"box-layer img-responsive&" src=&"images/thumb2.jpg&" alt=&"Pencil or Ballpen&" />
</figure>
Lorem ipsum dolor sit amet, consectetur adipisicing elit, sed do eiusmod tempor incididunt ut labore et dolore magna aliqua. Ut enim ad minim veniam, quis nostrud exercitation ullamco laboris nisi ut aliquip ex ea commodo consequat. Duis aute irure dolor in reprehenderit in voluptate velit esse cillum dolore eu fugiat nulla pariatur. Excepteur sint occaecat cupidatat non proident, sunt in culpa qui officia deserunt mollit anim id est laborum..
<div class=&"btn-margin&">
<a href=&"single-blog.html&" class=&"btn btn-primary&">CONTINUE READING >>> </a>
</div>
</li>
</ul>
<div class=&"box-layer align-center page-nav&">
<ul class=&"btn&">
<li><a href=&"#&">Next Page >>> </a></li>
</ul>
</div>
</div>
الكود أعلاه سيقوم بعرض محتوًى ساكنٍ. لجعله ديناميكيٍّ سنستخدم حلقة تِكرارِ ووردبريس داخل منطقة التدوينات لعرضها بشكل متكرّرٍ مع محتوًى مختلفٍ. قم بتعويض الكود الذي نسخته سابقا بهذا الكود:
<?php get_header(); ?>

<!-- BLOG AREA -->
<section>
<hr class=&"no-margin&" />
<div class=&"blog-container section-content&">
<div class=&"container&">
<?php if (have_posts()) : ?>
<div class=&"row&">
<div class=&"col-md-8&">
<ul class=&"negative-margin&">
<li>
<?php while(have_posts()) : the_post(); ?>
<h1><a href=&"<?php the_permalink(); ?>&" class=&"gray&"><?php the_title(); ?></a></h1>
By <a href=&"<?php the_author_posts() ?>&"><?php the_author(); ?> </a> / On <?php echo get_the_date('F j, Y'); ?> / In <?php the_category(', '); ?>
<?php if (has_post_thumbnail()) : ?>
<figure> <a href=&"<?php the_permalink(); ?>&"><?php the_post_thumbnail('', array('class' => 'opacity-hover box-layer img-responsive')); ?></a>
</figure>
<?php the_excerpt(); ?>
<div class=&"btn-margin&"> <a href=&"<?php the_permalink(); ?>&" class=&"btn btn-primary&">CONTINUE READING >>> </a> </div>
</li>
<?php endif; ?>
<?php endwhile; ?>
</ul>
<?php global $wp_query; if ($wp_query->max_num_pages > 1) : ?>
<div class=&"box-layer align-center page-nav&">
<ul class=&"btn&">
<li><?php previous_posts_link('<<< Previous Page', $wp_query->max_num_pages); ?></li>
<li><?php next_posts_link('Next Page >>>', $wp_query->max_num_pages); ?></li>
</ul>
</div>
<!-- end box -->
<?php endif; ?>
<?php endif; ?>
</div>
<aside>
<div class=&"col-md-3 col-md-offset-1 margin-sidebar&">
<?php get_sidebar(); ?>
</div>
</aside>
</div>
</div>
</div>
</section>
<?php get_footer(); ?>
حلقة تِكرار ووردبريس عبارة عن أقسامِ أكواد تُستخدم من طرف ووردبريس لعرض المقالات. باستخدام حلقة التِّكرار هذه ووردبريس سيقوم بتناول كلِّ مقالٍ على حِدى ليتمّ عرضه في الصّفحة الحاليّة، بحيث يتم العرض وفق المعايير المحدّدة داخل وسوم حلقة التِّكرار. في العادة هذه الحلقة تأتي بهذه الأقسام من الأكواد:
<?php if ( have_posts() ) { while ( have_posts() ) { the_post(); // // Post Content here // } // end while } // end if ?>
الكود أعلاه يمثّل الشّكل القياسيِّ لحلقة تكرار ووردبريس لِعرض المقالات ومع ذلك مازال علينا استخدام الدوالّ التالية ضمن الحلقة:
-
the_permalink: تقوم بعرضِ الرّابط الدائم للمقالِ الحاليِّ. -
the_title: تقوم باسترجاع عنوان المقالِ الحاليِّ. -
the_author_posts: تقوم بعرض عدد المقالات التّي قام الكاتب الحاليُّ بنشرها. -
the_author: تقوم بعرض اسم كاتبِ المقالِ الحاليِّ. -
get_the_date: تسترجع التوقيت الذي كُتب به المقالُ الحاليِّ. -
the_category: تعرض التصنيف أو التصنيفات التي ينتمي إليها المقال الحاليّ. -
the_post_thumbnail: تعرض الصّورة البارزة للمقالِ الحاليِّ كما تمّ تحديده في شاشة تعديل المقال (سنرى هذا بشكل مفصّلٍ بعد قليل). -
the_excerpt: تعرض المقتطف للمقالِ الحاليِّ. بعد تطبيقِ بعض الفلاتر عليها وتضمينauto-pعليها سنقوم بتحويلline-breaksإلى فقرة HTML فيما يتعلّق بالصّورة البارزة فسنستخدم الكود التّالي:
<?php if (has_post_thumbnail()) : ?>
<figure> <a href=&"<?php the_permalink(); ?>&"><?php the_post_thumbnail('', array('class' => 'opacity-hover box-layer img-responsive')); ?></a> </figure>
<?php endif; ?>
أوّلًا يتّم التأكّد من أنّ المقال يحتوي على صورةٍ بارزة، بعد ذلك إذا كان يحتوي على واحدةٍ، سنقوم بعرض رابط الموضوع إضافة إلى الصورة نفسها. لاحظ أنّنا أضفنا مصفوفة تحتوي على كلاس opacity-hover box-layer img-responsive. هذه طريقة لإضافة كلاس للصورة البارزة وجعلها تبدو بشكلٍ أجمل عن طريق إضافة: تأثيرٍ عند تمرير الفأرة فوقها، حدودٍ وظِلّ صندوق. لكنّ القيّام بكلّ هذا لن يقوم بعرض الصورة البارزة، يجب عليك أوّلًا تسجيل الصّورة البارزة. قم بنسخ الكود التّالي وأضِفه في ملفِّ functions.php.
<?php
/***********************************************************************************************/
/* Add Theme Support for Post Thumbnails */
/***********************************************************************************************/
if (function_exists('add_theme_support')) {
  add_theme_support('post-thumbnails');
  set_post_thumbnail_size(742, 428);
}
?>
جيّد! الصورة البارزة ستظهر الآن. التّالي سيكون إضافة دالّةٍ تقوم بنزع العارِضات والنِّقاط بينهما من نهاية المقتطف التي تعرض فيه بطريقة افتراضية. دائما في ملفِّ functions.php أضف الكود التالي:
<?php
/***********************************************************************************************/
/* Remove the brackets, ellipsis and hellip on excerpt */
/***********************************************************************************************/
function trim_excerpt($text) {
    $text = str_replace('[hellip;]', '...', $text);
     return $text;
    }
add_filter('get_the_excerpt', 'trim_excerpt');
?>
تاليًّا، سنقوم بتشغيل ترقيم الصّفحات التيّ قمنا بإضافتها سابقًا في ملفِّ index.php. الكود التّالي سيقوم باستدعاء wp_query، هناك كلاس محدّدة في نواةِ ووردبريس تتعامل مع تعقيدات استعلامات المقالات (أو الصفحات) لمدوّنة ووردبريس. هذه الكلاس بإضافة روابط لـ previous_post_link و next_posts_link function للتنقّل بين صفحاتِ مدوّنتك. ألقِ نظرةً على الكود التّالي:
<?php global $wp_query; if ($wp_query->max_num_pages > 1) : ?>
<div class=&"box-layer align-center page-nav&">
<ul class=&"btn&">
<li><?php previous_posts_link('<<< Previous Page', $wp_query->max_num_pages); ?></li>
<li><?php next_posts_link('Next Page >>>', $wp_query->max_num_pages); ?></li>
</ul>
</div>
<!-- end box -->
<?php endif; ?>
<?php endif; ?>
كلمسةٍ ختاميِّة، قم بتضمين دالّة get_sidebar داخل وسم div ذو كلاس col-md-3 col-md-offset-1 margin-sidebar الكلُّ داخل وسمِ HTML5 aside، ستحصل كود مشابه للتّالي:
<aside>
<div class=&"col-md-3 col-md-offset-1 margin-sidebar&">
<?php get_sidebar(); ?>
</div>
</aside>
كمراجعة نهائيّة ملفّ index.php يجب أن يحتوي على الكود أدناه، راجعه لتفادي أيّة أخطاء محتملة.
<?php get_header(); ?>
<!-- BLOG AREA -->
<section>
<hr class=&"no-margin&" />
<div class=&"blog-container section-content&">
<div class=&"container&">
<?php if (have_posts()) : ?>
<div class=&"row&">
<div class=&"col-md-8&">
<ul class=&"negative-margin&">
<li>
<?php while(have_posts()) : the_post(); ?>
<h1><a href=&"<?php the_permalink(); ?>&" class=&"gray&">
<?php the_title(); ?> </a></h1>
By <a href=&"<?php the_author_posts() ?>&"><?php the_author(); ?> </a> / On <?php echo get_the_date('F j, Y'); ?> / In <?php the_category(', '); ?>
<?php if (has_post_thumbnail()) : ?>
<figure> <a href=&"<?php the_permalink(); ?>&"><?php the_post_thumbnail('', array('class' => 'opacity-hover box-layer img-responsive')); ?></a> </figure>
<?php the_excerpt(); ?>
<div class=&"btn-margin&"> <a href=&"<?php the_permalink(); ?>&" class=&"btn btn-primary&">CONTINUE READING >>> </a> </div>
</li>
<?php endif; ?>
<?php endwhile; ?>
</ul>
<?php global $wp_query; if ($wp_query->max_num_pages > 1) : ?>
<div class=&"box-layer align-center page-nav&">
<ul class=&"btn&">
<li><?php previous_posts_link('<<< Previous Page', $wp_query->max_num_pages); ?></li>
<li><?php next_posts_link('Next Page >>>', $wp_query->max_num_pages); ?></li>
</ul>
</div>
<!-- end box -->
<?php endif; ?>
<?php endif; ?>
</div>
<aside>
<div class=&"col-md-3 col-md-offset-1 margin-sidebar&">
<?php get_sidebar(); ?>
</div>
</aside>
</div>
</div>
</div>
</section>
<?php get_footer(); ?>
الخطوة 2.7- العملُ مع ملفِّ single.php
الآن سنقوم بعرض كلِّ مقالةٍ بشكل منفصل، أنشئ ملفّ single.php ثمّ أضف له الكود التّالي:
<?php get_header(); ?>
<!-- BLOG AREA -->
<section>
<hr class=&"no-margin&" />
<?php if (have_posts()) : while(have_posts()) : the_post(); ?>
<div class=&"blog-container section-content&">
<div class=&"container&">
<div class=&"row&">
<div class=&"col-md-8&">
<div class=&"box-layer custom-padding&">
<section>
<h1><a href=&"<?php the_permalink(); ?>&" class=&"gray&"><?php the_title(); ?></a></h1>
By <a href=&"<?php the_author_posts() ?>&"><?php the_author(); ?> </a> / On <?php echo get_the_date('F j, Y'); ?> /  In <?php the_category(', '); ?>
<?php if (has_post_thumbnail()) : ?>
<figure> <a href=&"<?php the_permalink(); ?>&"><?php the_post_thumbnail('', array('class' => 'opacity-hover box-layer img-responsive')); ?></a>
</figure>
<?php the_content(); ?>
<?php endif; ?>
</section>
<?php endwhile; ?>
<?php endif; ?>
<section>
<div class=&"comment-section&">
<?php // If comments are open or we have at least one comment, load up the comment template if ( comments_open() || '0' != get_comments_number() ) : comments_template(); endif; ?>
</div>
</section>
</div>
<!-- RELATED ARTICLE AREA -->
<section>
<div class=&"box-layer related-articles custom-padding&">
<h3 class=&"align-center&">Related Articles</h3>
<?php $current_categories = get_the_category(); $first_category = $current_categories[0]->term_id;
$args = array(
'post_per_page' => 3,
'category__in' => array($first_category),
'post__not_in' => array($post->ID)
);
$related_articles = new WP_Query($args);
if ($related_articles->have_posts()) : ?>
<ul>
<?php while ($related_articles->have_posts()) : $related_articles->the_post(); ?>
<li class=&"col-md-4&">
<?php if (has_post_thumbnail()) : ?>
<figure> <a href=&"<?php the_permalink(); ?>&"><?php the_post_thumbnail('', array('class' => 'opacity-hover box-layer img-responsive')); ?></a> </figure>
</figure>
<a href=&"<?php the_permalink(); ?>&"><?php the_title(); ?></a>
<?php endif; ?>
</li>
<?php endwhile; ?>
<div class=&"clear&"></div>
</ul>
<?php endif; ?>
<?php // Restore original Post Data wp_reset_postdata(); ?>
</div>
</section>
</div>
<!-- SIDEBAR AREA -->
<aside>
<div class=&"col-md-3 col-md-offset-1 margin-sidebar&">
<?php get_sidebar(); ?>
</div>
</aside>
</section>
<?php get_footer(); ?>
ولإظهار التعليقات، قم بإضافة الكود التّالي:
<section>
<div class=&"comment-section&">
<?php if ( comments_open() || '0' != get_comments_number() ) : comments_template(); endif; ?>
</div>
</section>
هذا الكود سيتحقّق إن كانت التعليقات مُتاحةً أو إن كانت هناك تعليقات ليقوم باستدعاء نموذج التعليقات (سنتناول ذلك لاحقا).
الخطوة 2.8- العملُ مع ملفِّ page.php
بعد أن أنهينا العمل على صفحة التّدوينة، سنتوجّه للعملِ على الصّفحات العادية. أنشئ ملفّ page.php ثم ألصق به الكود التّالي:
<?php get_header(); ?>
<!-- BLOG AREA -->
<section>
<hr class=&"no-margin&" />
<div class=&"blog-container section-content&">
<div class=&"container&">
<div class=&"row&">
<div class=&"col-md-8&">
<div class=&"box-layer custom-padding&">
<?php if ( have_posts() ) : while ( have_posts() ) : the_post(); ?>
<h3> <?php the_title(); ?> </h3>
<?php if (has_post_thumbnail()) : ?>
<figure> <a href=&"<?php the_permalink(); ?>&"><?php the_post_thumbnail('', array('class' => 'opacity-hover box-layer img-responsive')); ?></a> </figure>
<?php endif; ?>
<?php the_content(); ?>
<?php endwhile; endif; //ends the loop ?>
</div>
</div>
<!-- SIDEBAR AREA -->
<aside>
<div class=&"col-md-3 col-md-offset-1 margin-sidebar&">
<?php get_sidebar(); ?>
</div>
</aside>
</section>
<?php get_footer(); ?>
مجدّدًا لا جديد في هذا الملفِّ عدا أنّه لا يحتوي على قسمٍ للتعليقات كونه سيعرضُ صفحةً عاديّة. في الملفّين المقبلين سنقوم باستخدام نموذجين مُدمجين في ووردبريس لعرض الصّفحات بِنسقٍ مختلفٍ.
ترجمة -وبتصرّف- للمقال How to Convert a Static HTML Template into a Responsive WordPress Theme


أفضل التعليقات
لا توجد أية تعليقات بعد
انضم إلى النقاش
يمكنك أن تنشر الآن وتسجل لاحقًا. إذا كان لديك حساب، فسجل الدخول الآن لتنشر باسم حسابك.